Printing with Borders, Backgrounds and Overlays!
A quick Holiday Post, the time for shopping is getting short…
Recently a photographer switching to Lightroom [LR] asked if he could print on a black background with a white border as he did in Photoshop [PS]. Well, the answer was, “Of Course – Easier and Quicker!”
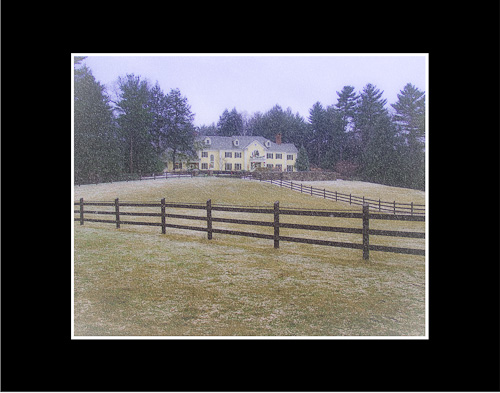 Here is some background info. My photographer friend dealt with mainly 2 size prints: 11×14 paper with a 7½ x 10½” image and Letter size 8 ½ x11″ paper with a 5 ½ x 8″ image. His Photoshop workflow was: Double click his “Background” layer to make it “Layer 0”; add a White stroke; expanded his canvass to final print size; make a new layer beneath the image and fill with Black; then set up for Borderless Printing… and of course he did this every time he printed!
Here’s how to do it in Lightroom…
Photoshop Work:
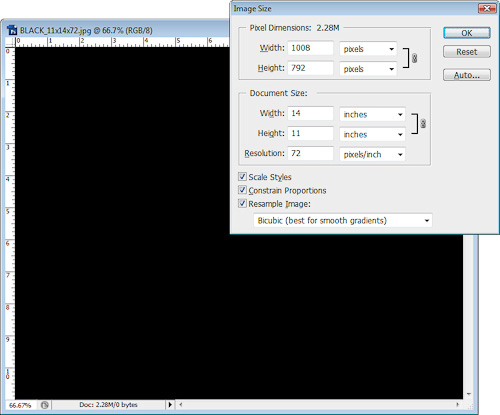
First, we need to do some quick & easy Photoshop work. Make 2 files with just a black background layer: one is 11×14 inches and the other 8 ½ x 11 inches and both files at 72 PPI. Save them as a “jpg” level 12: “Black_11x14x72” ; “Black_8x11x72”.
That’s it… now to LR
Note: I will not go through the entire LR process of setting all the parameters in the print module. I will just cover the steps unique to printing with a background.
Creating a Template for the 11×14 paper with a 7½ x 10½” image:
Enter LR’s “Print” module. On the left side in the “Template Browser” panel, click on the “+” to create a new template and type: “11×14 Black Matte” for the template name then click “Create”.
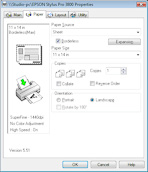
At the bottom left of the “Print” module, click on “Page Setup…” and enter info for borderless printing. Here you see the settings for the Epson 3800 with 11×14 Premium Luster paper and “Borderless” checked. [Note “Borderless” printing is not available all printers – Premium Luster and Glossy work fine.]
The “Print” module’s right panels we need to address are:
Image Settings:
– Check “Stroke Border”
– Check “Zoom to fill” (great when the file and cell size are not the same ratio.)
Layout:
– Set all “margins” to “0”
– Rows & Columns to “1” and
– enter “Cell Size”: Height = 7.5, Width = 10.5
(At this point I would hover over the “11×14 Black Matte” template and right mouse click and “Update with current settings”. I do this often during template creation.)
Overlay: …This is where it happens
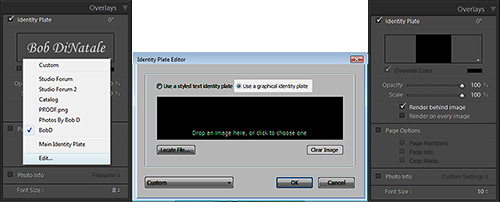
![]() 1. Check “Identity Plate”
1. Check “Identity Plate”
2. Click on the down triangle in black box to reveal choices (if you made them)
3. Click on “Edit”
4. In the “Identity Plate Editor”
a) select the “Use a graphical identity plate” button
b) locate the “Black 11x14x72.jpg” you created in PS.
5. Size Black area to fill the area (rotate 90 degrees if necessary)
6. Check “Render behind image”
(Again, hover over the “11×14 Black Matte” template and right mouse click and “Update with current settings”)
That’s it just print and you will get you black canvas with your white border.
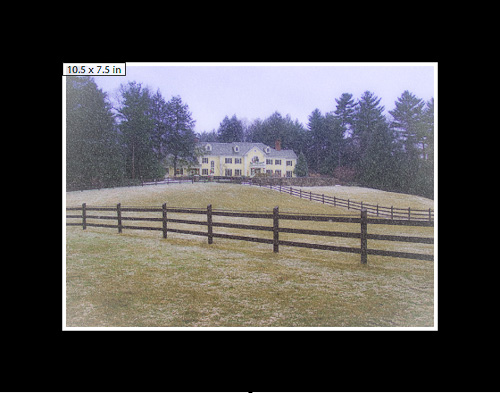
Quickly Creating the 2nd Template for the 8 ½x11 paper with a 5½ x 8″ image:
In the “Template Browser” panel, click on the template just created above. Now, click the “+” to create a new template and enter “8×11 Black Matte” for the template name. Click “Create”. Now you might have guessed this new template may say “8×11 Black Matte” but it really is still 11×14 settings. We only have to change a few parameters relating to the page and cell size – we will not have to repeat all the “Page and Printer Setting”
Here are the panels we need to address:
Layout:
– Change “Cell Size”: Height = 5.5, Width = 8
Overlay:
1. Click on the down triangle and click on “Edit”
2. In the “Identity Plate Editor” select the “Use a graphical identity plate” button and locate the “Black_8x11x72.jpg”
3. Size Black area to fill the area (rotate 90 degrees if necessary)
That’s it – Done!
Now… Because it is Christmas…(can’t say that every day)
You may want to get more festive like adding a red canvas with a wide green border. All you have to do in PS is to make a “RED_8x11x72.jpg” replace it in the “Identity Plate Editor” and change the borer size to ¼ inch or 18 pts (72 points/inch).
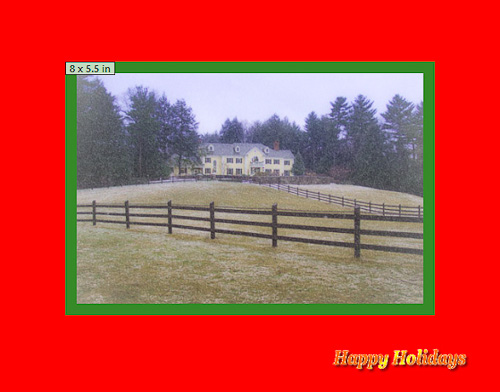
If you really want to get fancy you can add some text in PS. If you do I would suggest you save your file at a higher PPI – more like 240 or 300. Which is what I did below… and because it is Christmas… you can right mouse click the photo/background below and save it to your desktop to try out this procedure.
 This post is getting long and as I said time for shopping is getting short… so, in my next post I will talk about graphic overlays on the image. Until then…
…Buon Natale from Bob DiNatale
<< End >>
[Reply]