“Dualing” Graduated Filters or…”Excuse Me While I Sharpen the Sky”
We all have come to love Lightroom’s new Graduated Filter [GF] tool. (That’s keyboard shortcut “M” in your program.) A common use of this filter is to affect the sky, very similar to photographing using split filters… adding blue to enhance the sky; adding orange to create or enhance a sunset; adding Neutral Density (-exposure) to darken or balance out a bright sky in our photograph; etc.
And, as we know, once we have created, stretched and moved the GF into position, we can change its parameters like – color, add more saturation or some sharpness. Sharpness? We certainly wouldn’t add sharpening to the sky BUT – if you rotated the GF 180°, you could certainly think of adding sharpness to the foreground.
Try this; create a new GF and this time rotate it 180° so the GF effect is on the bottom of your image. Now, “zero” all the parameters and then change the sharpness slider to sharpen up the foreground. Pretty neat! You can increase the effect by either adding more sharpening or expanding the GF higher affecting more of the foreground.
Hey, here is a radical idea – Make both a GF sky effect and a GF foreground sharpening effect on the same photo then save it as a preset. (see instructions below). Now you can add this “Dual GF” preset to your scenes with just one click. You can then tailor these effects to the image by adjusting the color of the top GF affecting the sky and the amount sharpening to the bottom GF affecting your foreground!
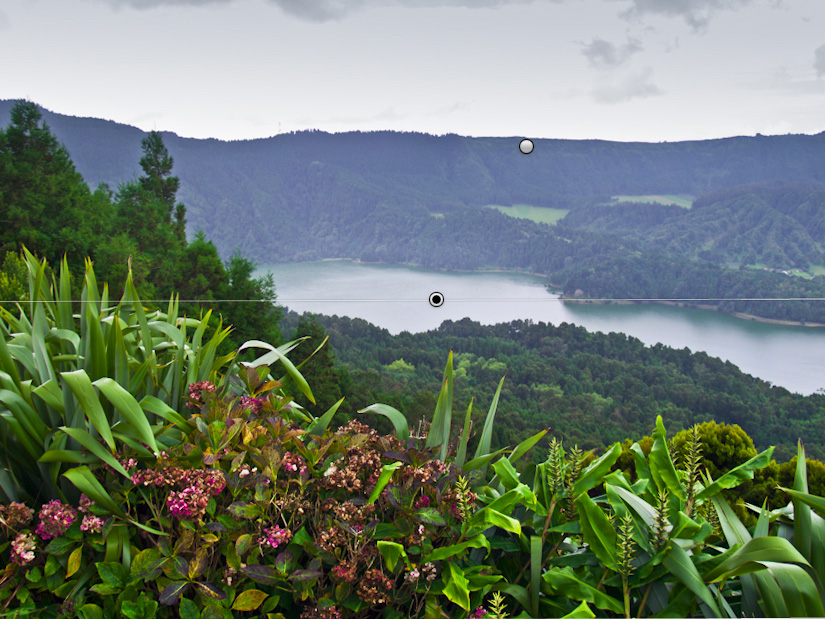
[click on each photo to enlarge and view effect]
 |
|
LR adjustment on right: Top GF = (-Exposure) / Bottom GF = (Sharpen)
Two Quick GF Tips:
1. Holding down the “Shift” key, while creating the GF effect, will straighten the horizon line.
2. Pressing the “apostrophe” key will rotate the Graduated Filter 180°.
That’s it!
Now, instead of sharpening the sky, isn’t it better to “Kiss the Sky”… thank you Jimi!
Creating the “Dual GF” Preset:
![]() 1. create the 2 GF effects mentioned above
1. create the 2 GF effects mentioned above
2. click the “+” on the Preset Panel to display the “New Develop Preset” window
3. type in the name of the preset, “Dual GF”
4. click “Check None” then check just the “Graduated Filters”
5. click “Create”. Voila!2. Pressing the “apostrophe” key will rotate the Graduated Filter 180°.
<< End >>
[Reply]