HDR in Photoshop
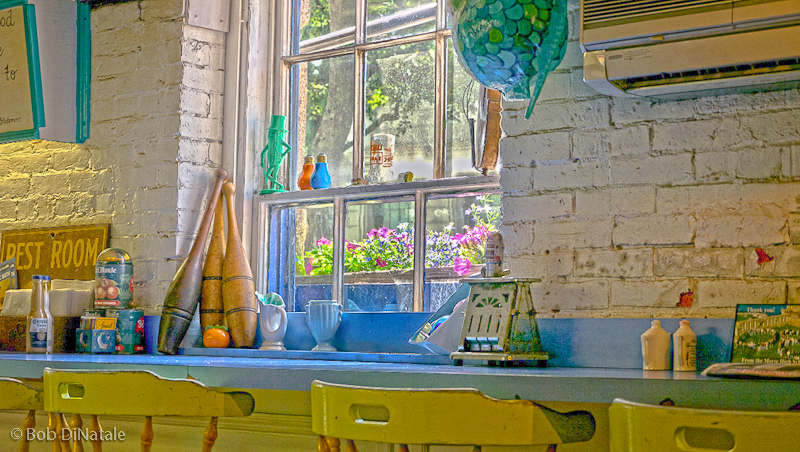
I created this image below after watching Julieanne Kost’s Photoshop HDR Video Tutorial.

It was easier to create (and with less ghosting) than using NIK HDR Pro. An additional advantage using PS “HDR Pro” is the ease to save the preset so I can repeat the effect (if I really liked it) on the original large camera files. I also included my notes (with times) to Julieanne’s very informative video… worth viewing.
Here was my workflow to create this photo:
1. Resized original 12 megapixel camera files to 1MP for “test-blending” using my/our Lightroom “Photo Merge Blending” Export template
2. Used 3 exposures 1 stop apart in Photoshop’s “HDR Pro
a. intent: to optimize the exposure and detail using Photoshop’s “HDR Pro”
and then do final image enhancements in Lightroom
b. “Remove Ghosting”did a great job on the hanging plant the left of the air conditioner.
3. Made Global and Selective adjustments in Lightroom (using my laptop)
4. Exported 800 pixel wide sharpened JPEG with embossed copyright.
Julieanne Kost – PS HDR And Tone Mapping Video [Click Here]
00:28 discussion of 32-bit versus 16 bit
01:00 Mini-Bridge discussion
01:15 – 02:40 HDR explanation: How to & Why
03:00 16 bit Local Adaptation adjustment technique *very powerful
05:15 removing ghost moving subjects
05:40 can select photo to use as priority when removing ghosting
06:25 saving presets
07:30 one image HDR” using the “HDR Toning”