 I finished viewing George Jardine’s new tutorials on “Lightroom + Photoshop Integration”. There are 7 videos – the 1st one is free if you leave your email address.
A wonderful, wonderful series… the depth and shaping of the information covered in this set of tutorials is amazing. This is not a basic set of videos tutorials. It is a total “Around the World” Lightroom/Photoshop/Lightroom workflow with many advanced concepts wonderfully explained.
Observations:
A. Very sophisticated set of tutorials… not for newbies – nor, the weak at heart! Read more…
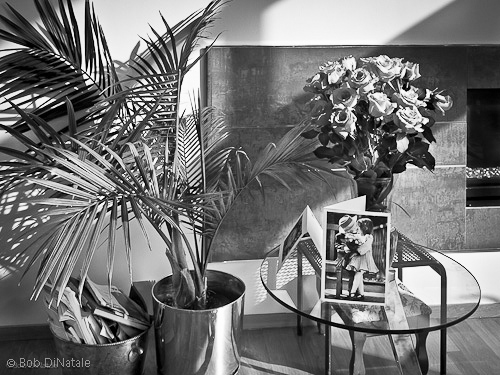 If you are at all interested in converting your color images to B&W, George Jardine is offering a wonderful free video tutorial – a must see. The first 20 minutes are the definitive tutorials to understand digital theory when converting color to B&W digital. The last 16 minutes provide the many considerations when processing your B&W digital images. The examples, both color theory and photos converted to B&W, are excellent.
I don’t think we need try to Read more…
With advances in camera and processing algorithms, we can take the “quick panorama” hand holding our Camera with Auto Settings (for “Everything) and get surprisingly good results – “go ahead and try it !” The main “hand-held” challenge is trying to keep the horizon level but even that is not critical.

(Click to Enlarge Image)
Photoshop CS5 “Content Aware Fill” (CAF) is magic… most of the time! At least until I learn more CAF, I did revert to some cloning and matting.
 No Content Aware Fill (CAF) |
 With CAF Healing Brush |
The examples above show the CAF cloning of the 2 light poles Read more…
 This post concludes the round of 3 printing tips in LR. The 1st post was “printing with a color background“; the 2nd was “adding a graphic overlay on your print” and this one “printing a drop-shadow under your LR print“. Read more…
In the last post I talked about printing with a color background in Lightroom. In this post, I will discuss printing with a graphic overlay such as a client logo or event title. For this example, I will continue with a Holiday theme overlay.
 Read more…
A quick Holiday Post, the time for shopping is getting short…
Recently a photographer switching to Lightroom [LR] asked if he could print on a black background with a white border as he did in Photoshop [PS]. Well, the answer was, “Of Course – Easier and Quicker!”
 Here is some background info. Read more…

(Click on photo to enlarge detail)
In the last post I wrote about LR’s Graduated Filter. The other localized editing tool, which many think might be the most significant addition to LR2, is the Adjustment Brush [AB]. The AB (
keyboard shortcut “K” in your program) allows you to “paint” localized non-destructive effects like Exposure, Saturation, Sharpness, etc. You can then change or add parameters to the selected area and fine tune the effect to your image.
Read more…
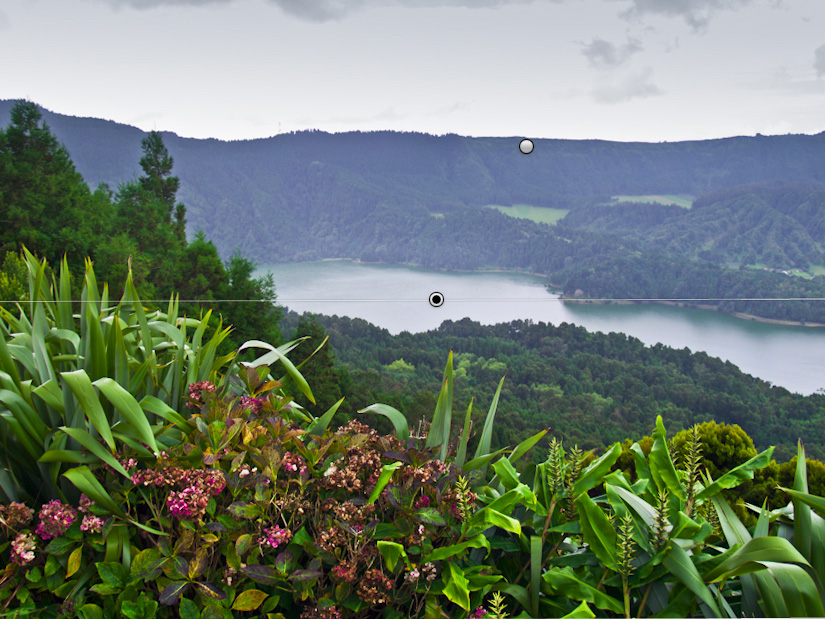
We all have come to love Lightroom’s new Graduated Filter [GF] tool. (That’s keyboard shortcut “M” in your program.) A common use of this filter is to affect the sky, very similar to photographing using split filters… adding blue to enhance the sky; adding orange to create or enhance a sunset; adding Neutral Density (-exposure) to darken or balance out a bright sky in our photograph; etc. Read more…


